Learning Objective:
To prepare stained temporary mounts of a) onion peel and b) human cheek cells, and to record observations and draw labelled diagrams
Materials Required:
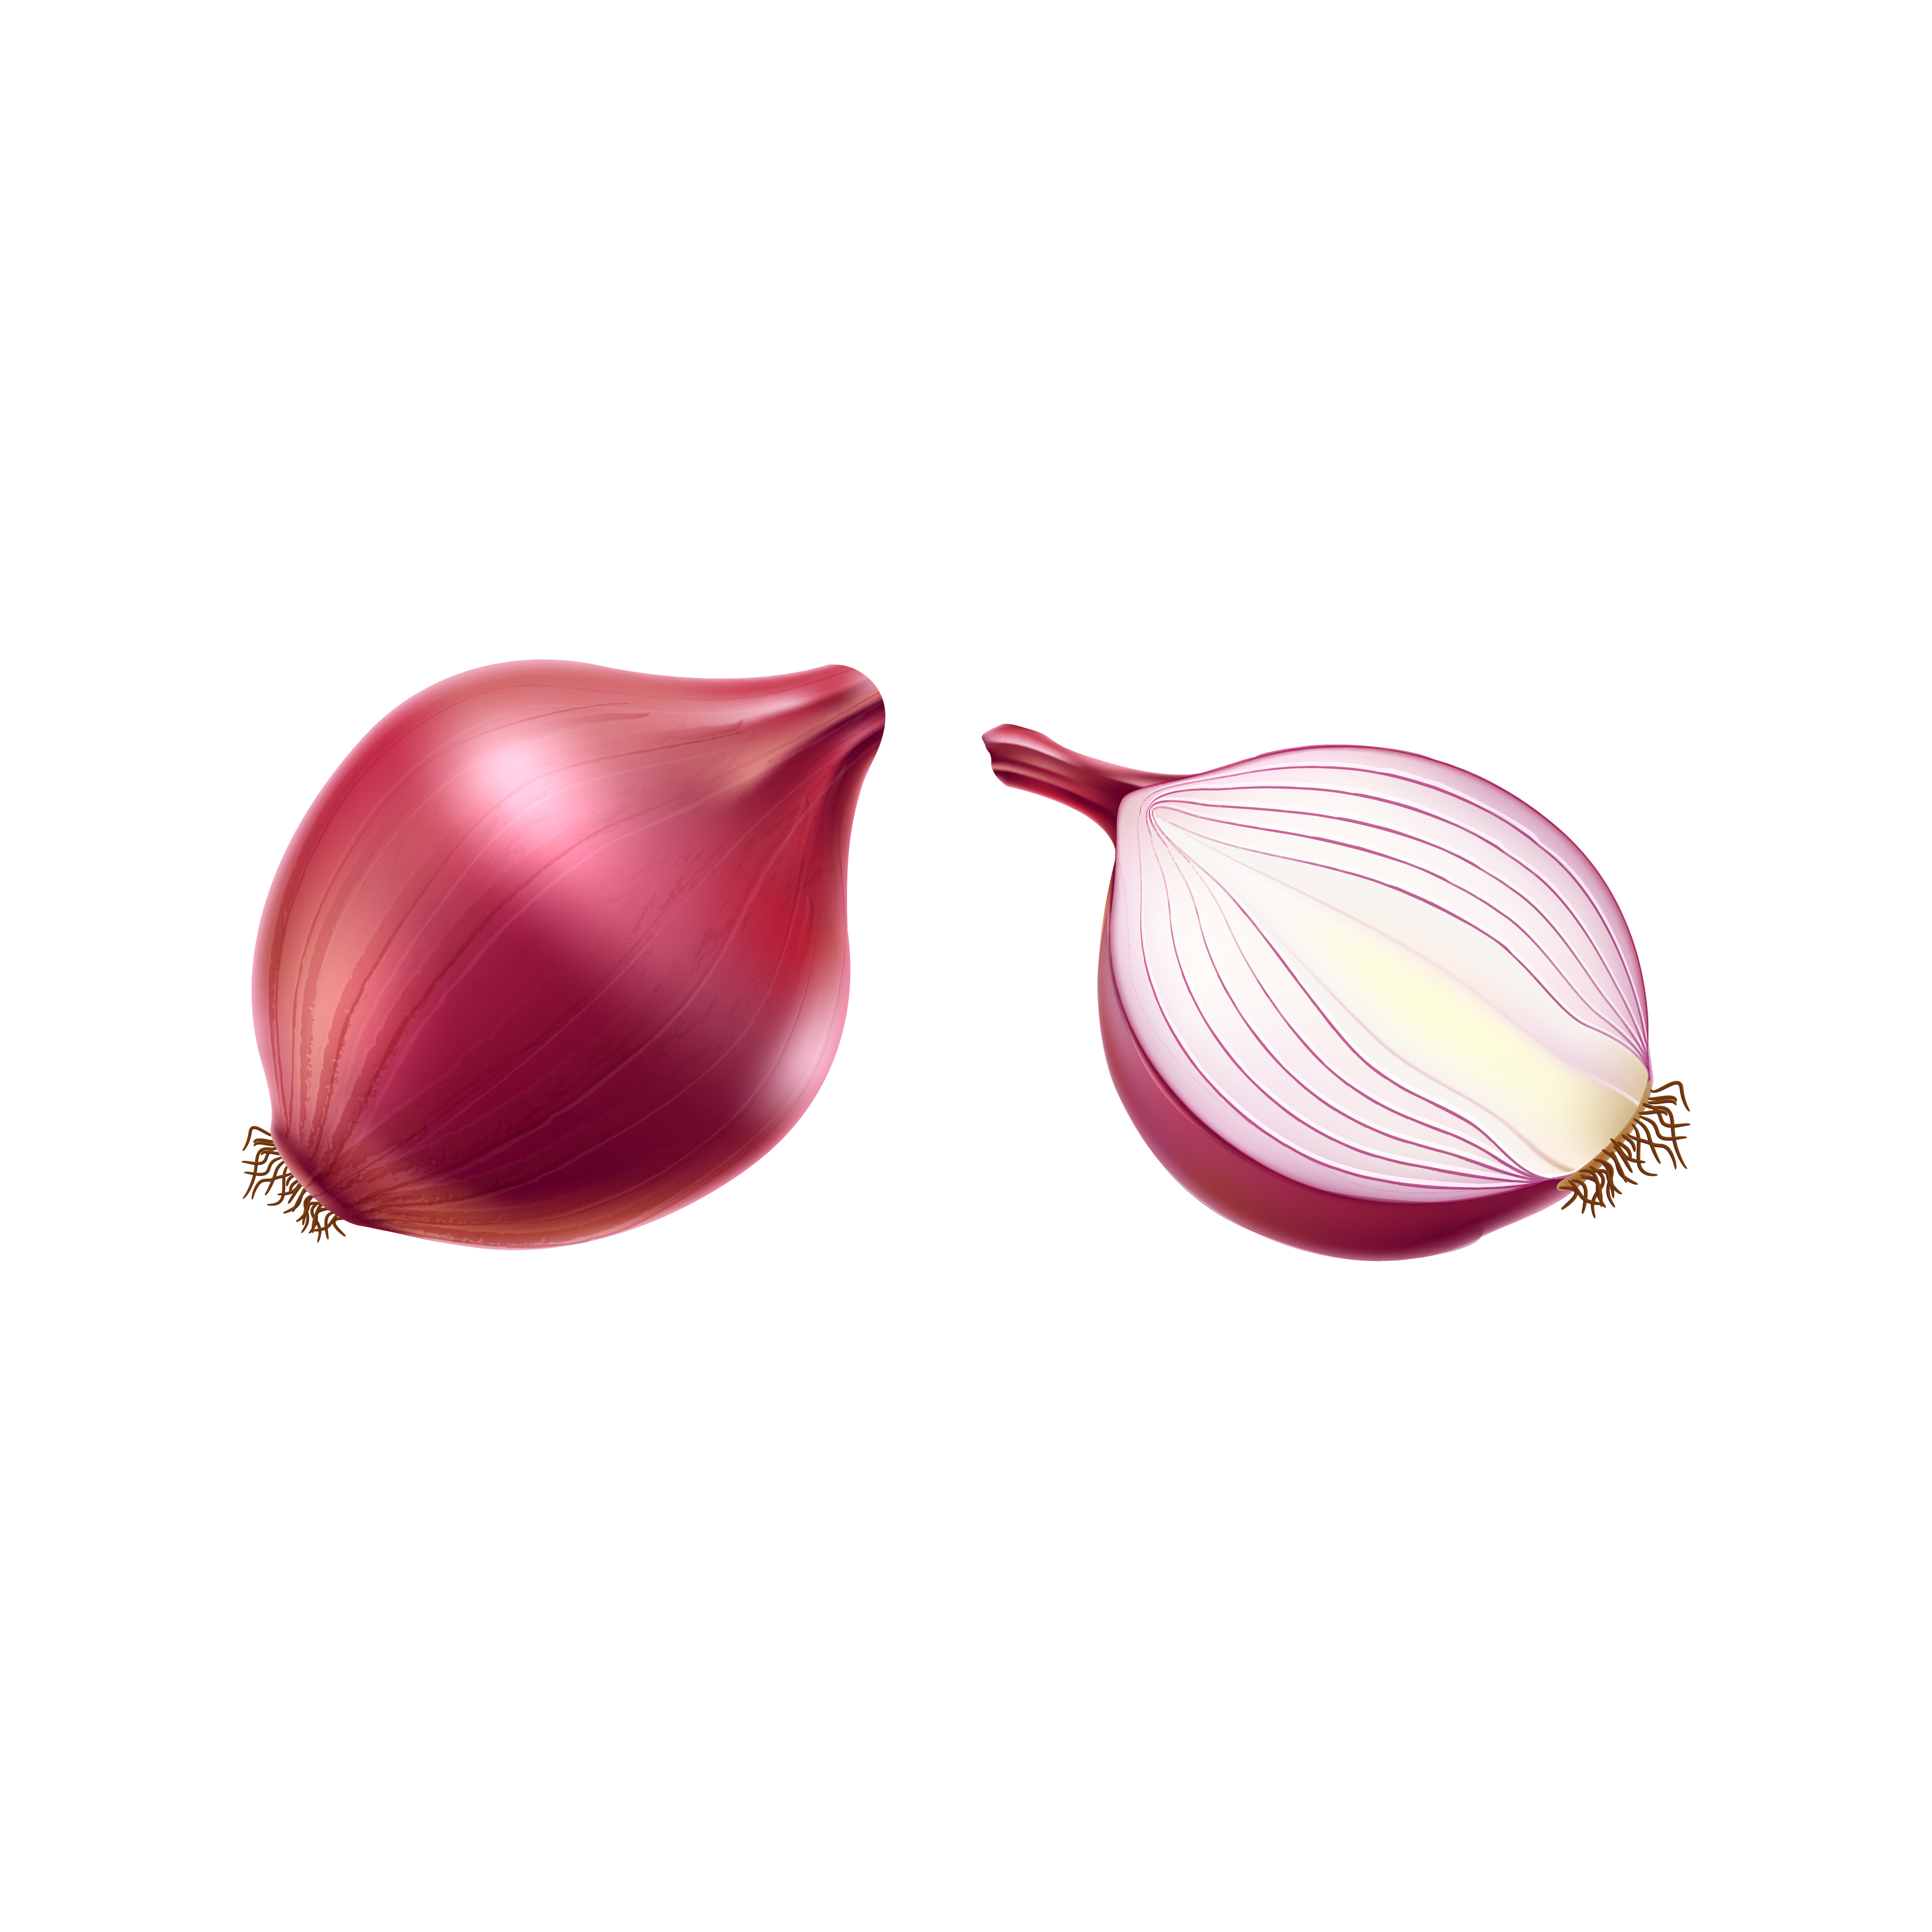
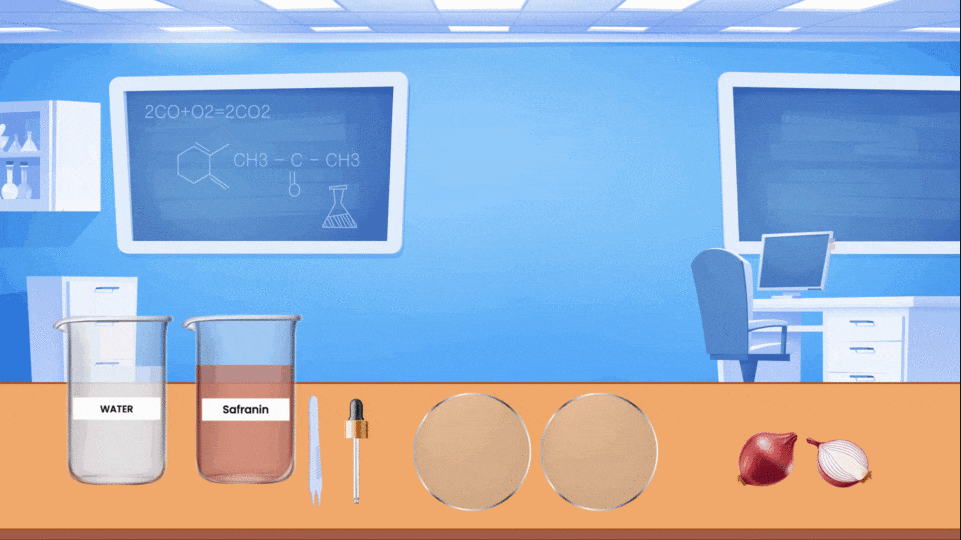
An Onion Bulb
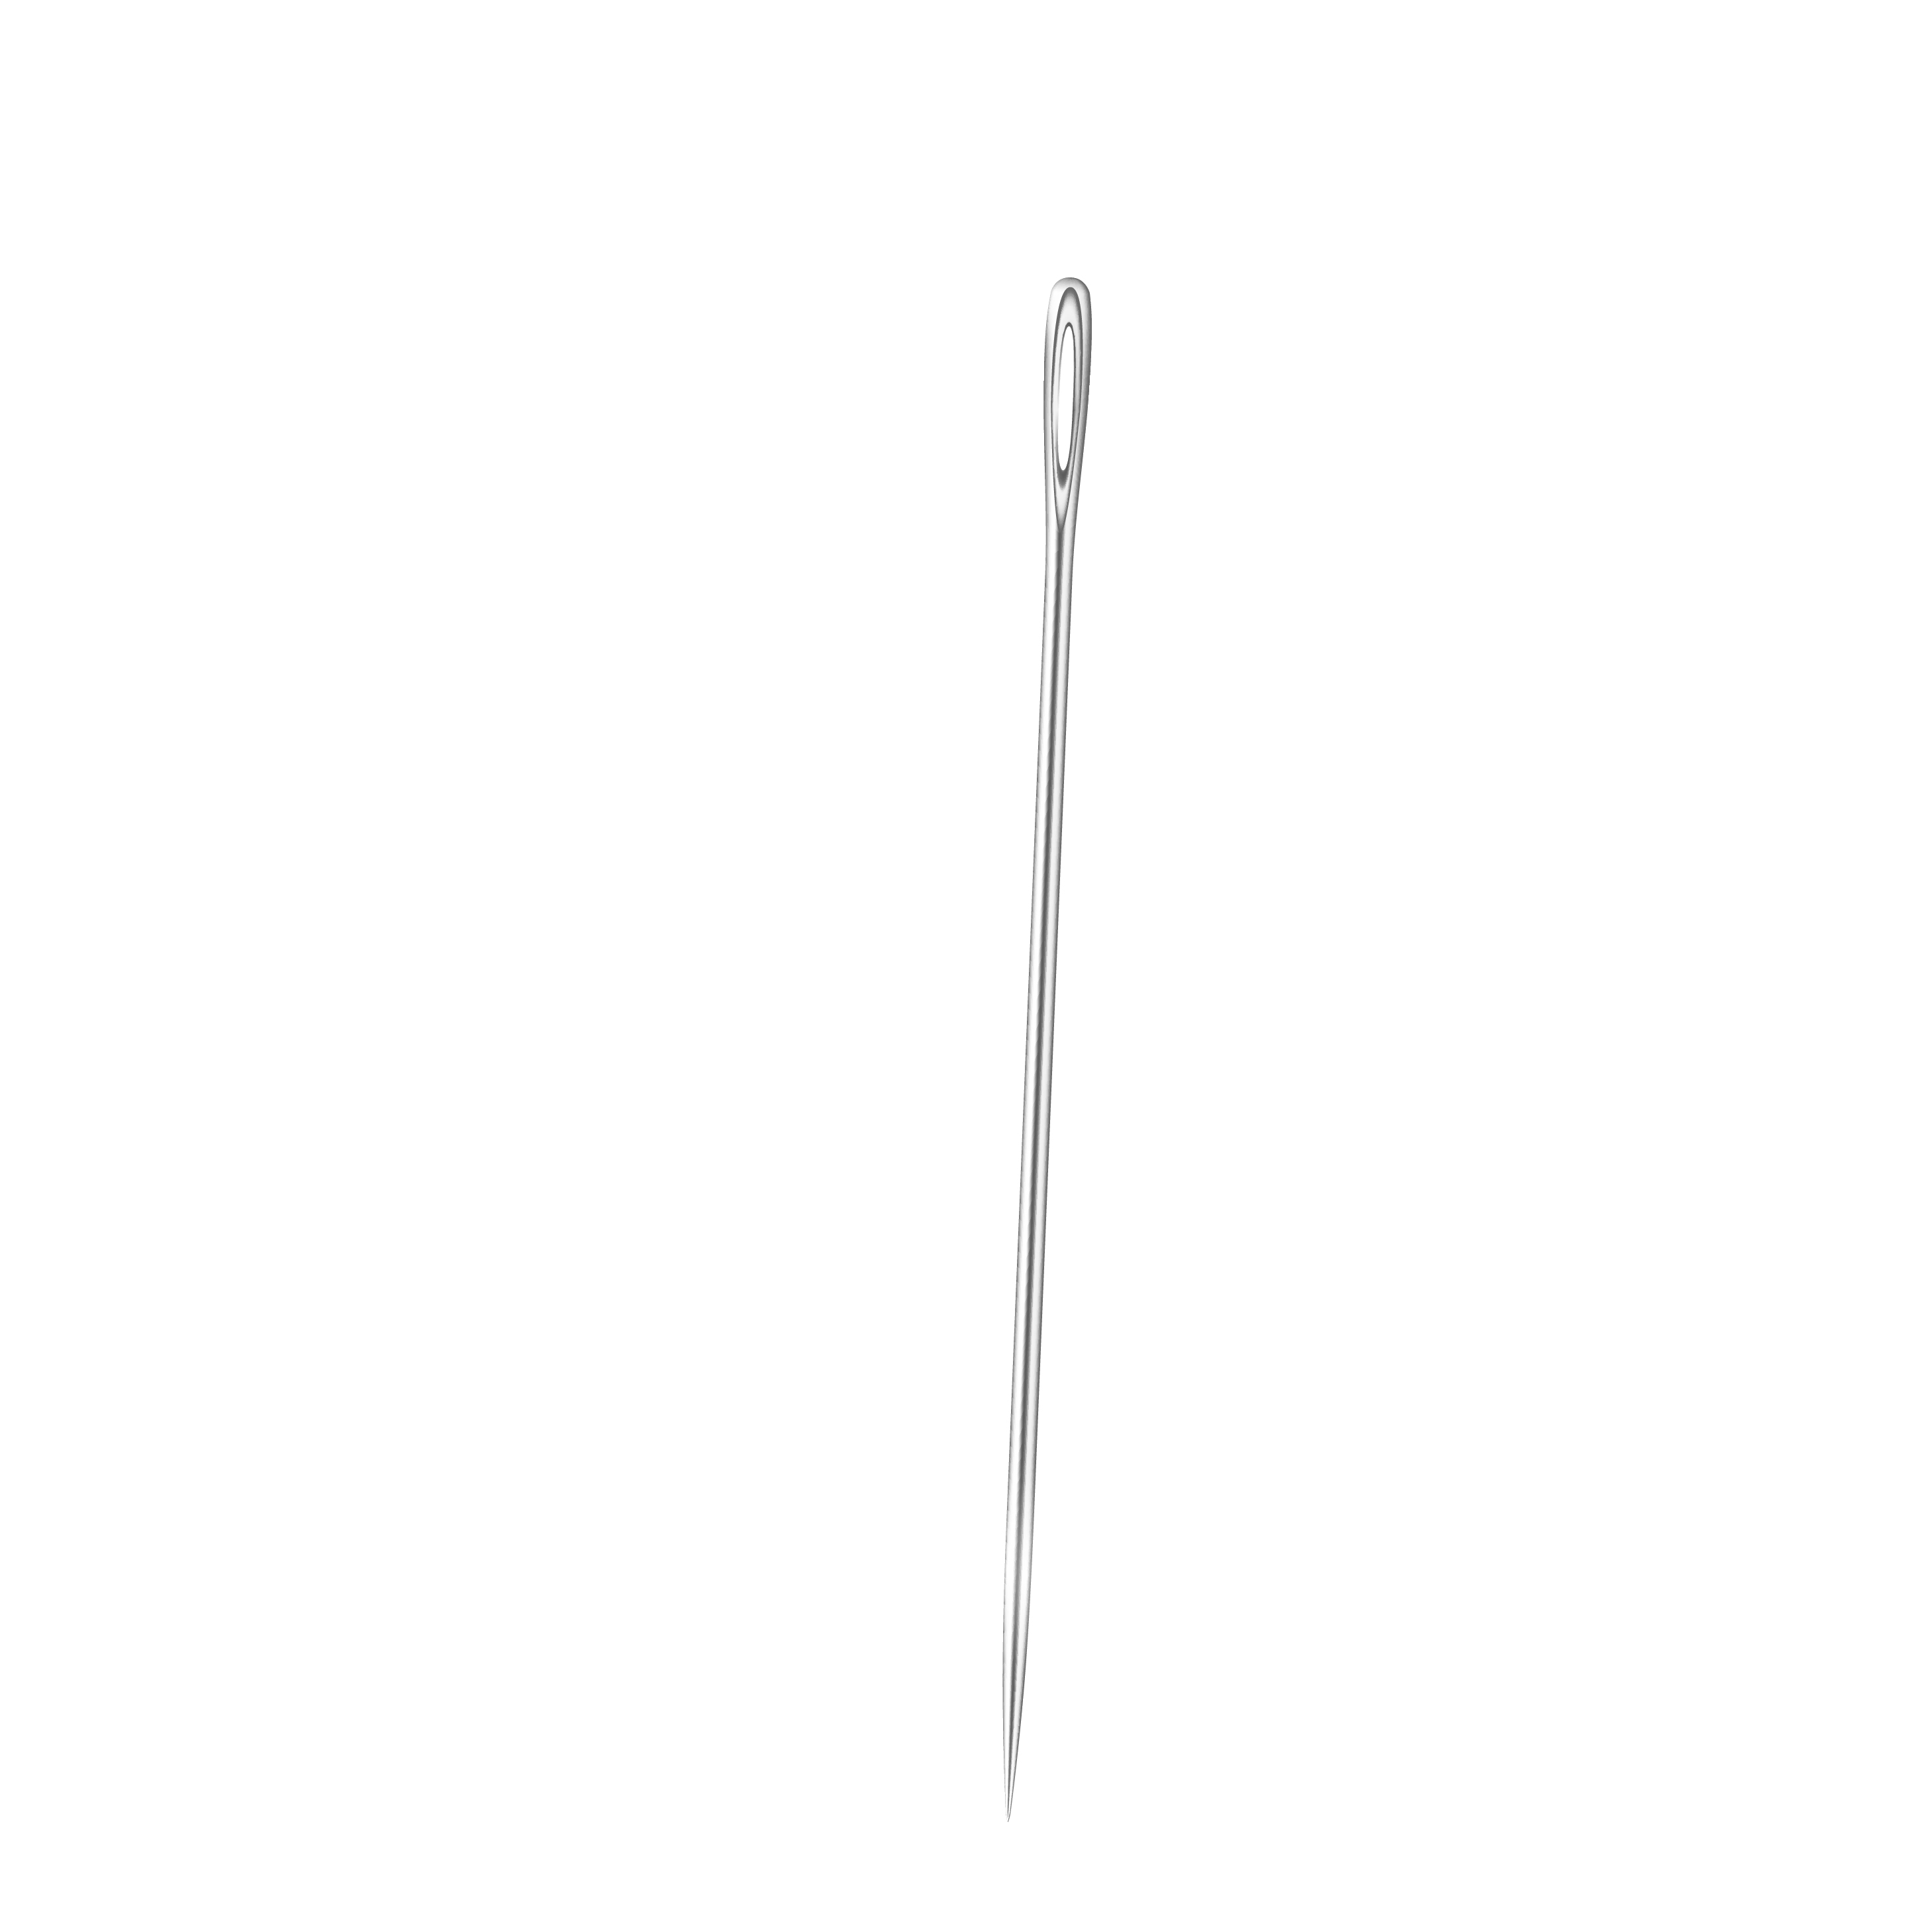
1 Needle
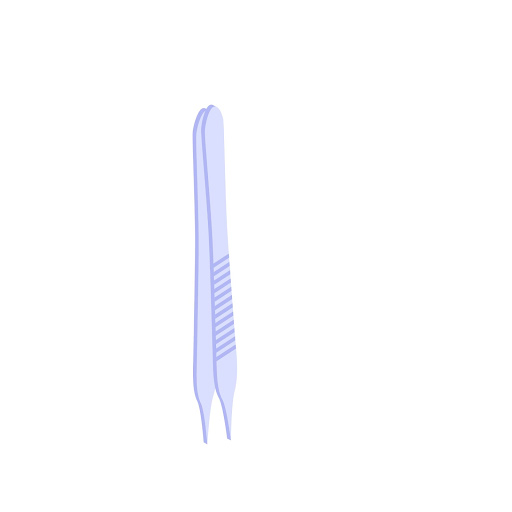
1 Pair of Forceps

2 Watch Glasses
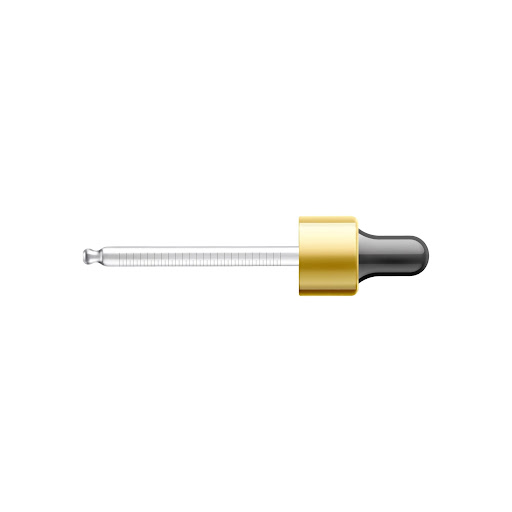
1 Dropper

Glass Slides
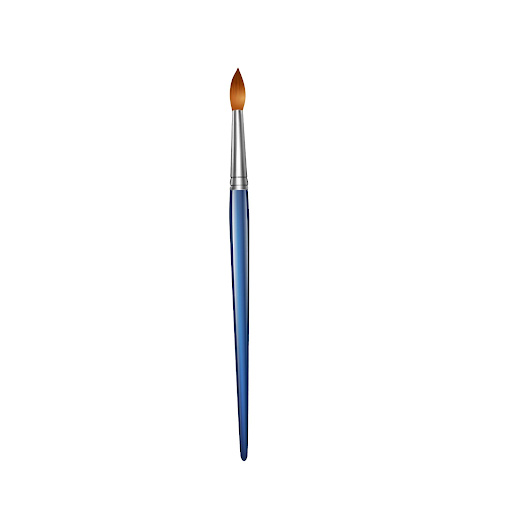
A (Paint) Brush

Coverslips

1 Blotting Paper
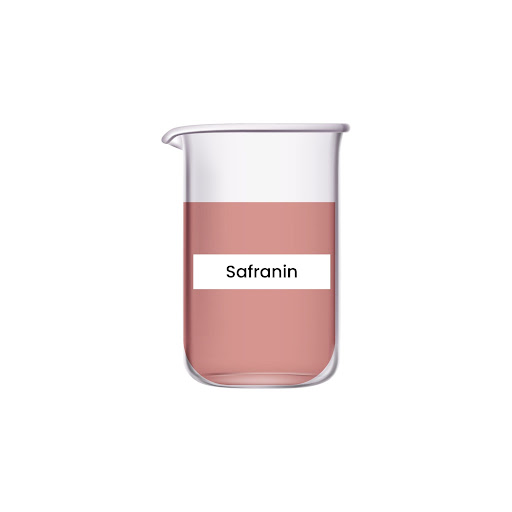
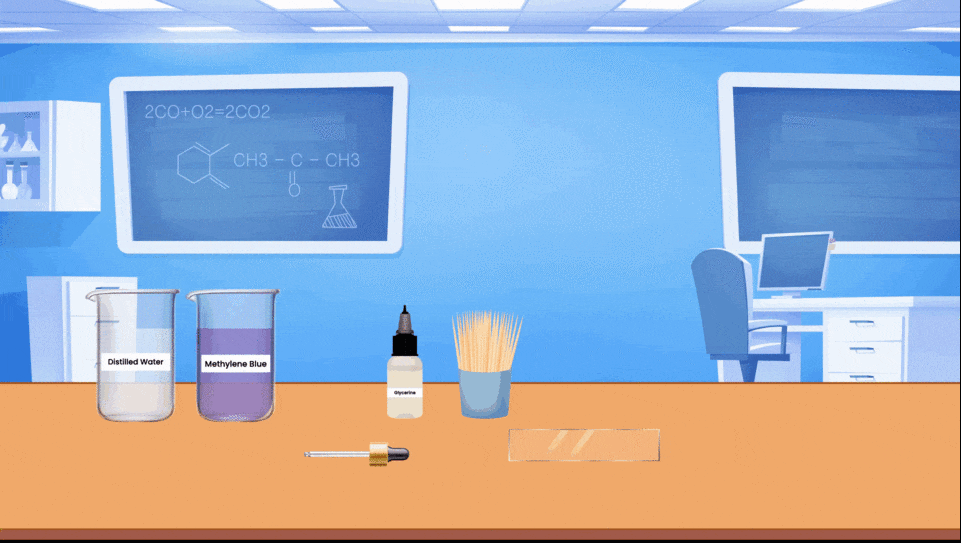
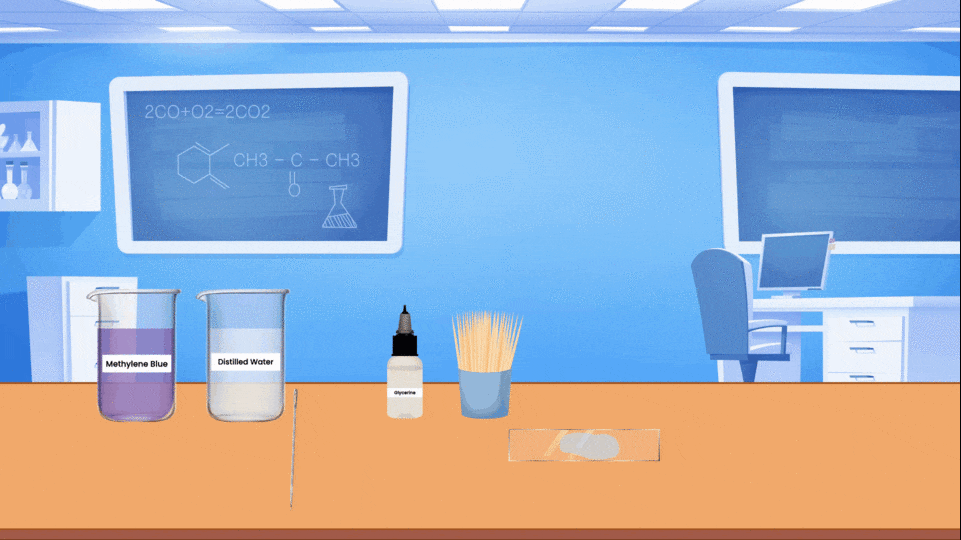
Safranin (red stain) / Methylene blue
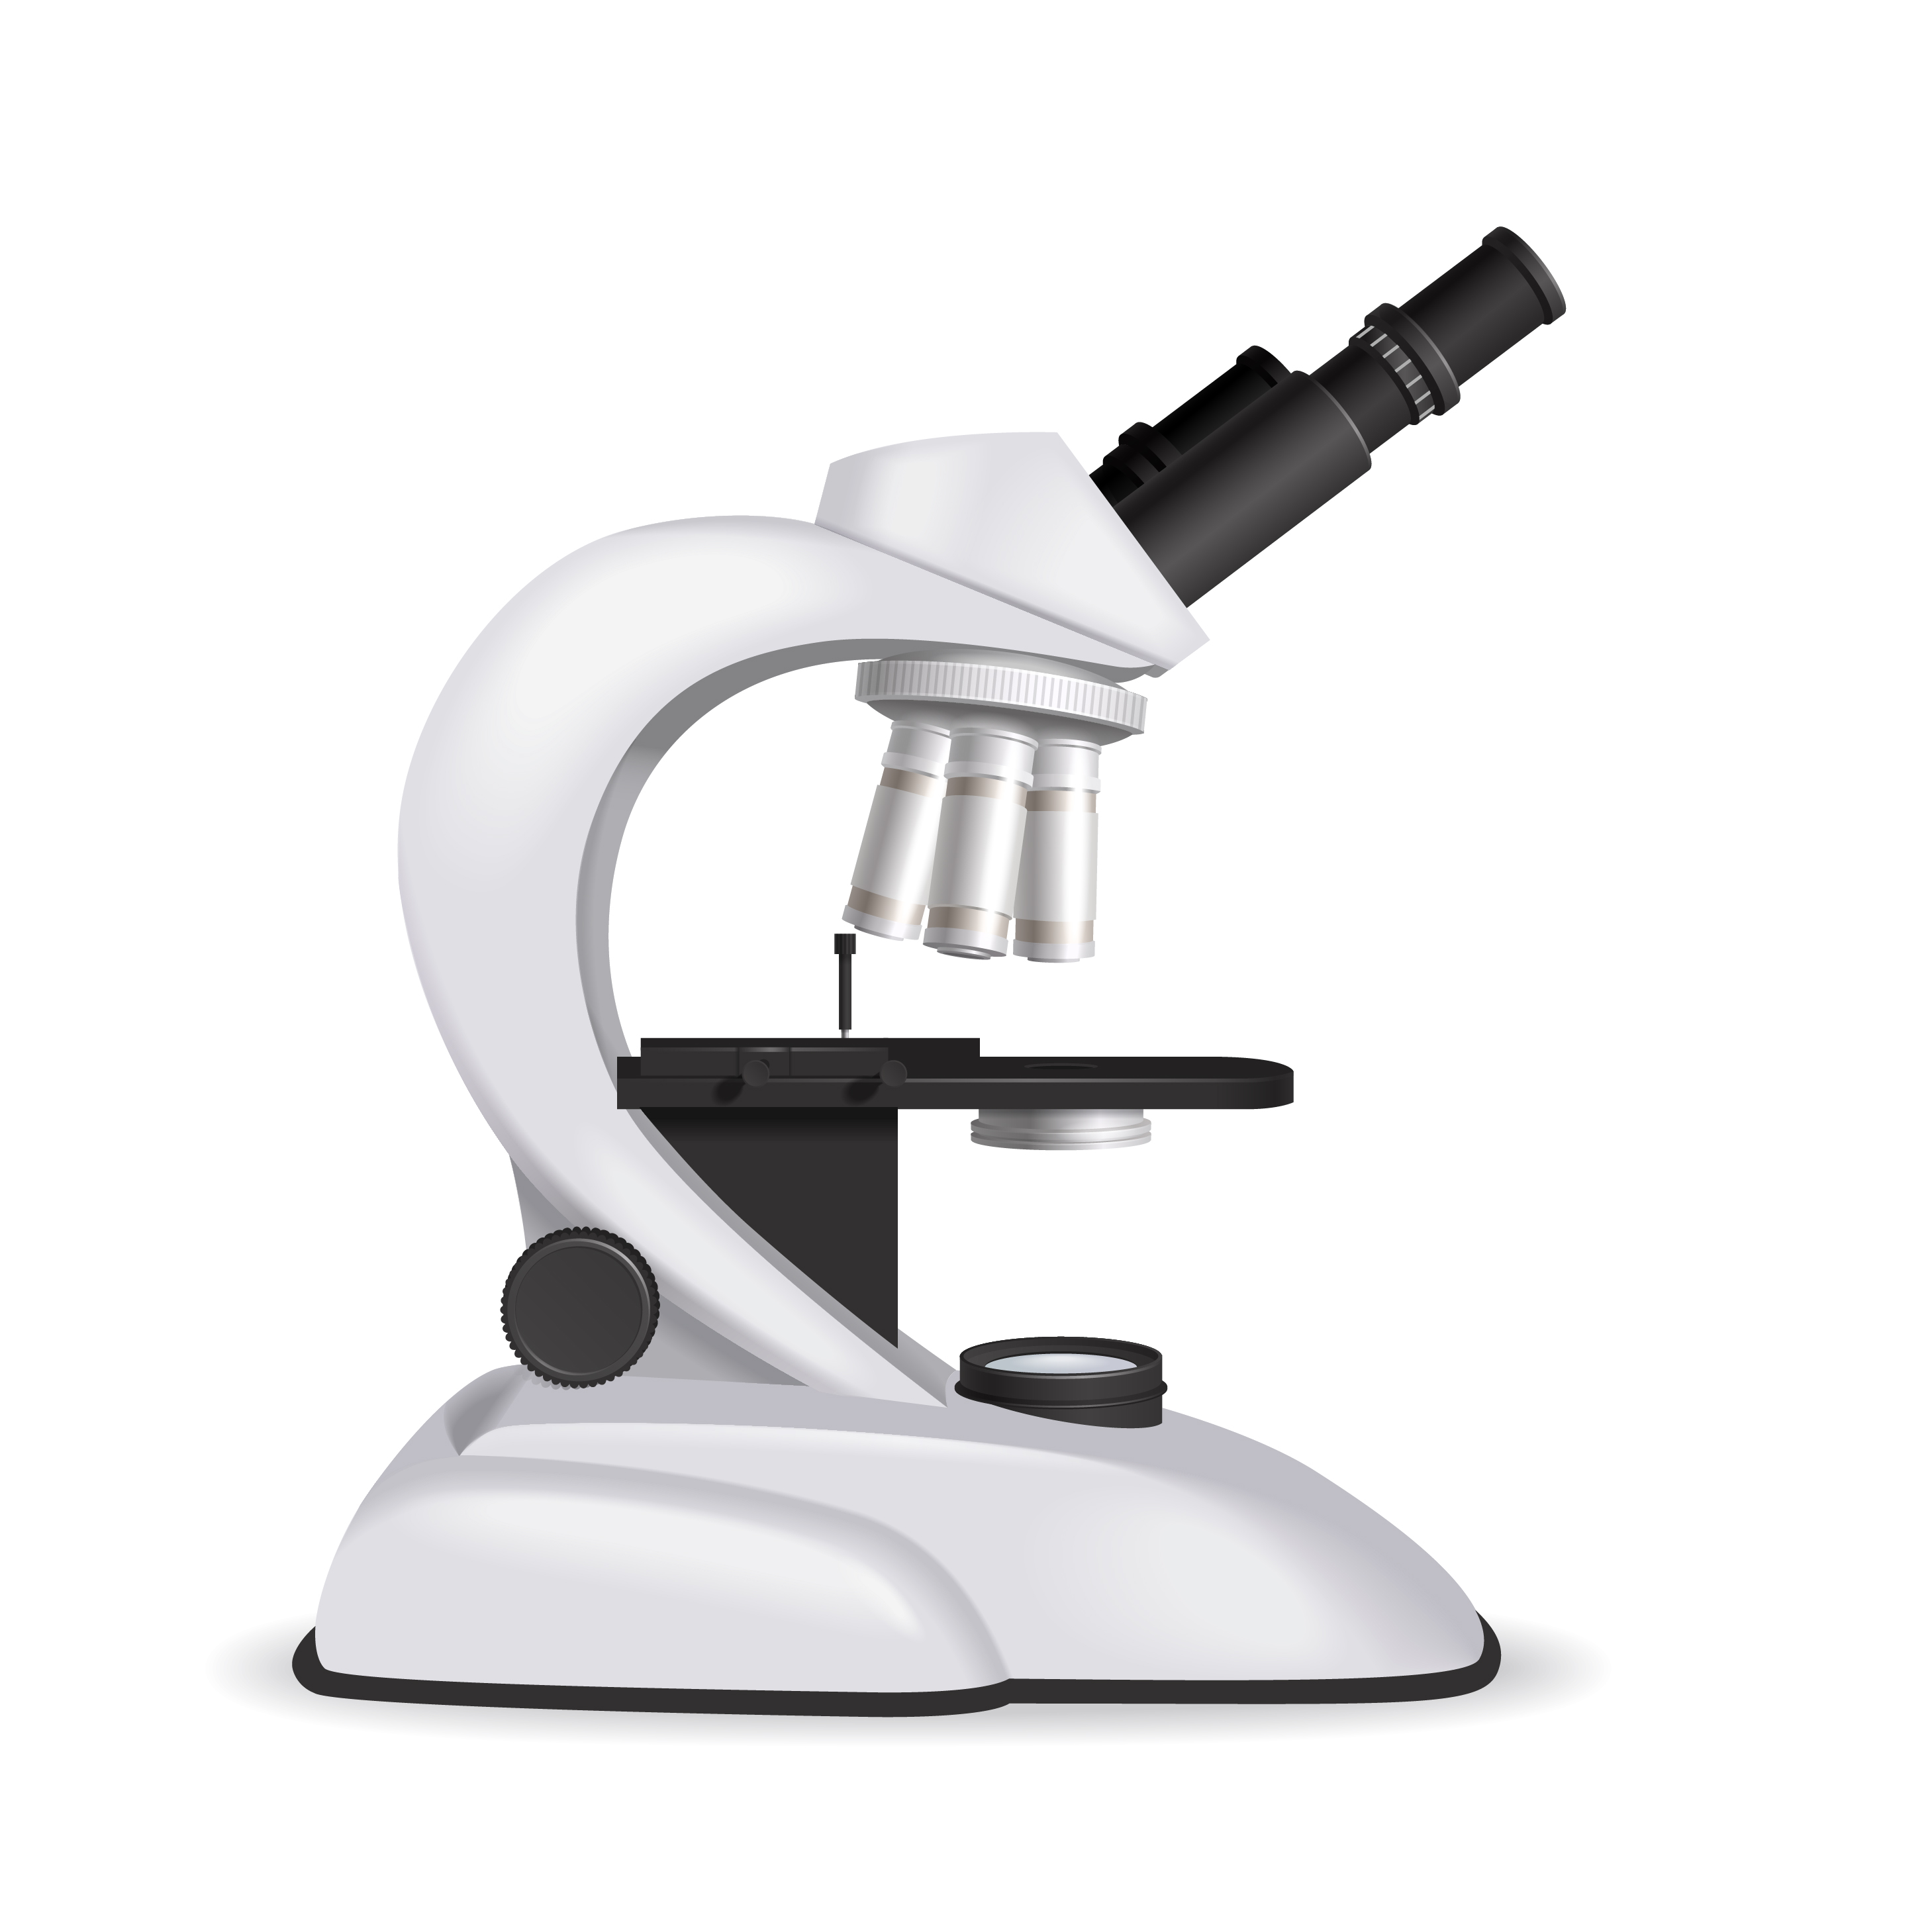
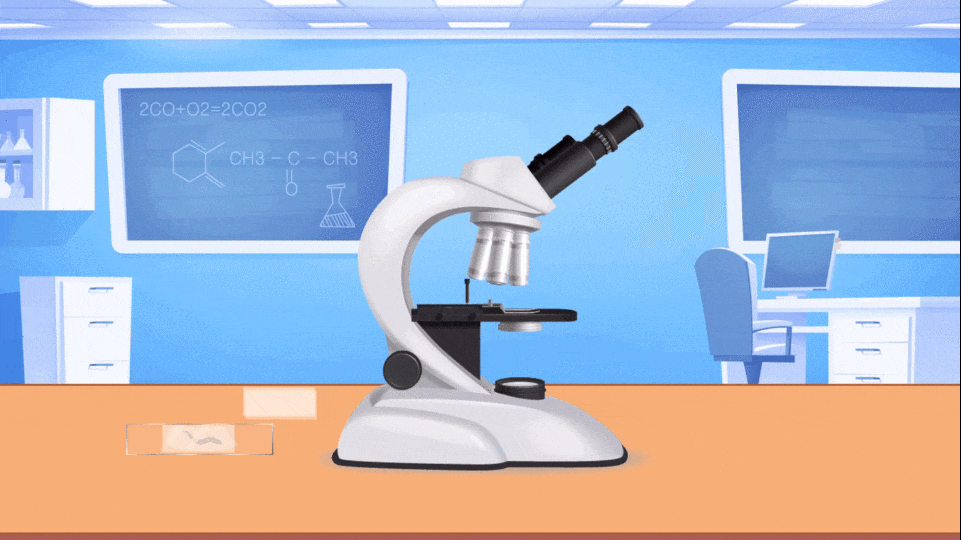
Compound/light/low power microscope
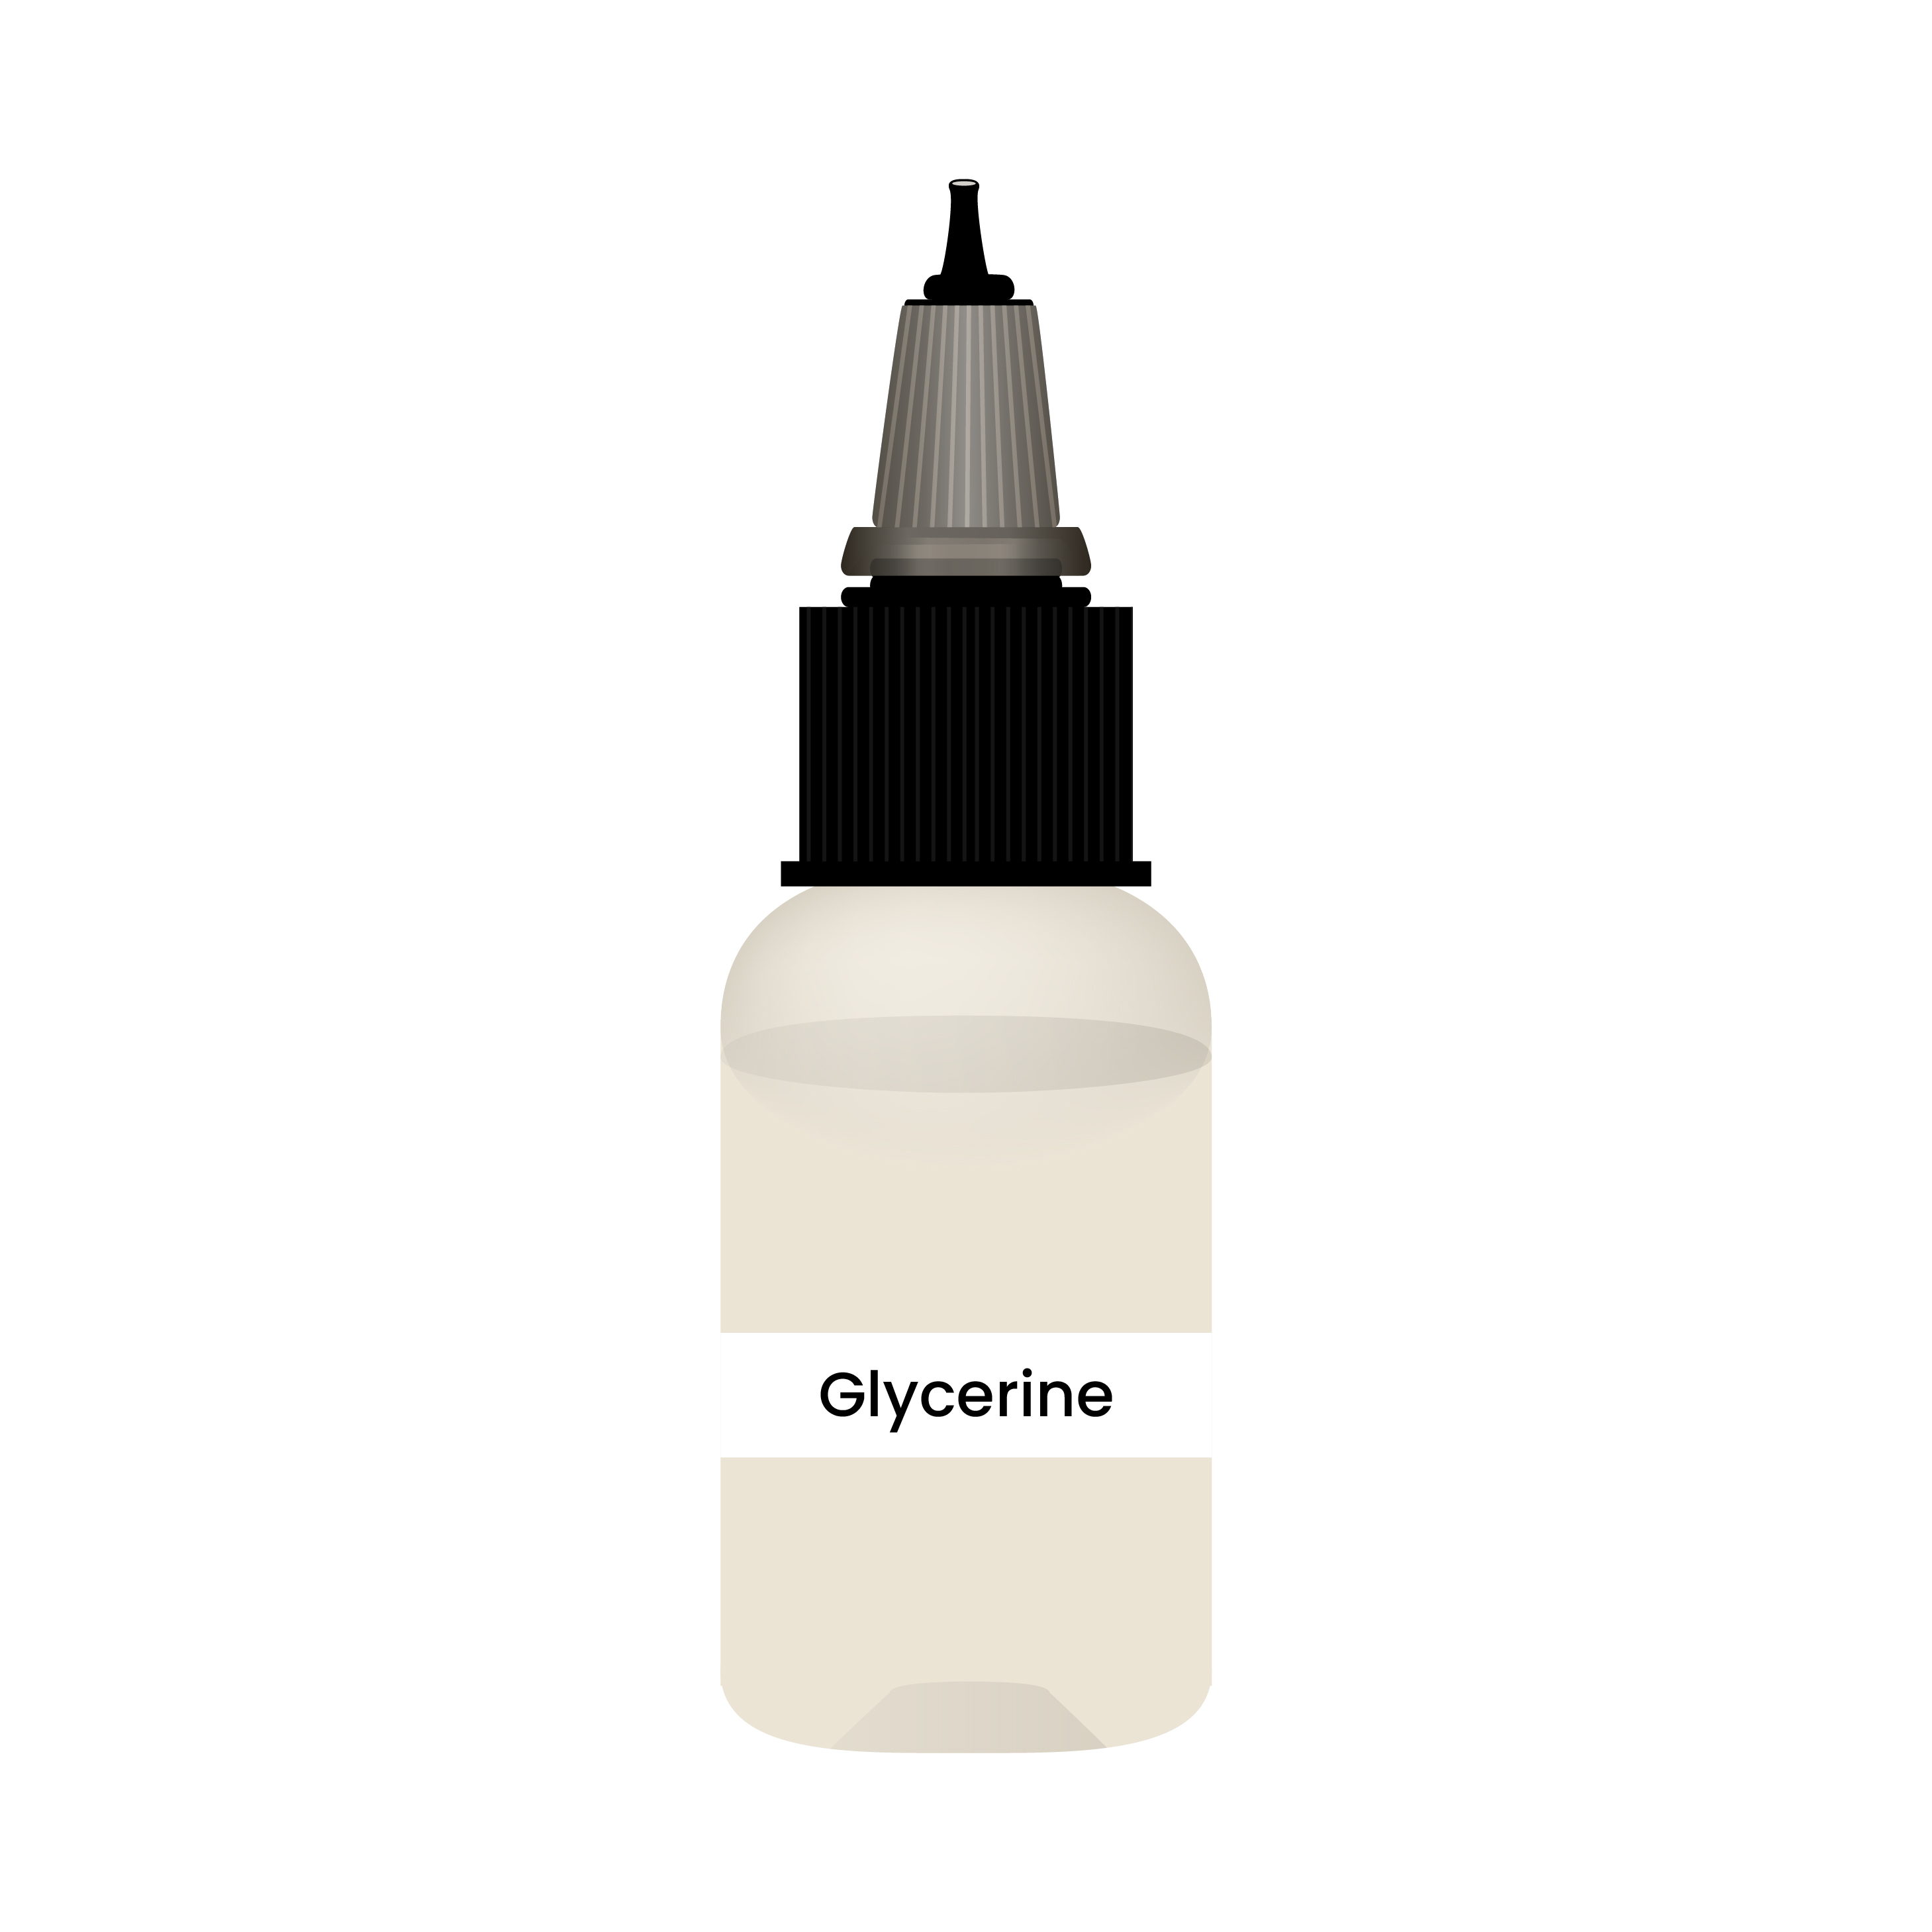
Glycerine
Safety Precautions:
1. HANDLE GLASSWARE WITH CARE AS IF BROKEN, SHARP SHARDS CAN CAUSE INJURIES
2. HANDLE THE NEEDLE WITH CARE
Experimental Accuracy:
1. Use a paintbrush to transfer specimen
2. Prevent air bubble formation in the slide
3. Place most promising region in the centre of the slide for observation
4. Don’t use too much/little stain
Methodology:
General Preparation of a Temporary Mount:
1) Place a one cell thick layer of cells on the slide
2) Add a drop of water or stain
3) Lower a coverslip onto the drop(carefully so as to prevent the formation of air bubbles)
4) Place the slide inside folded paper towel/blotting or filer paper to drain excess fluid. Press on the coverslip lightly/gently from the outside of the paper towel
Preparation of Stomata
Take a fleshy, membranous peel from an onion cell. Break it into two, and use a pair of forceps to pull a membranous epidermal peel from the inner surface of the leaf
Cut the leaf peels obtained into smaller pieces, so as to allow them to fit onto the microscope slides, using a blade or scissors.
Transfer the pieces to a watch glass of water. Use a paintbrush to do so(so as to prevent cell damage, while ensuring the epidermis doesn’t dry up).
Prepare a second watch glass, by mixing a small amount of water with 1 to 2 drops of methylene blue solution or Safranin. Transfer the peels to this watch glass. Leave the peel in the watch glass for 2-3 minutes before dipping them in water to remove excess stain
Take the peels out, and place them on clear, glass slides using a brush. Add glycerine using a dropper, before gently placing a coverslip on the slide. Place the coverslip using a needle to prevent air bubble formation
Drain excess glycerin/stain using blotting paper
Place the slides under the objective lens, on the stage of the microscope. Use the stage clips to stabilize the slide. Examine the cell.
Preparation of Cheek Cells
Use a toothpick to gently obtain cell samples from the inside of your cheek. Place the cells on glass slides containing water. Mix and spread the mixture using a needle.
Add Methylene blue solution using a dropper, After 2-3 minutes, remove any extra water or stains from the slide by drying it using blotting paper/filter paper.
Add glycerine using a dropper, before gently placing a coverslip on the slide. Place the coverslip using a needle to prevent air bubble formation
Drain excess glycerin/stain using blotting paper
Place the slides under the objective lens, on the stage of the microscope. Use the stage clips to stabilize the slide. Examine the cell.
Observation - Onion Cells:
The epidermis of the leaf is observed. It consists of compact cells, with the general characteristics of plant cells. The stained features are the cytoplasm, whereas the cell wall and nucleus remain unstained. The nucleus(in the periphery) , cell walls(around the perimeter), and large vacuoles(in the center) are distinct features of each cell(it is important to emphasize on the cell walls being distinct).
Note: we’ll have to include a labelled cell diagram separately as drawing cells is also a part of the syllabus for this experiment(even for the onion cheek cells).
Cheek Cells:
The characteristic features of plant cells are observed. The cells are large, flat and irregular in shape. They lack cell walls and large vacuoles however contain thin cell membranes(around their perimeters) and deeply stained nuclei(in their centres).
Overall Observation:
We can elucidate that cheek cells are animal cells whereas onion peel cells are plant cells based on the cellular features we in them observe through microscopic examination.
Visuals: Click here to see Visuals
Experiment in Context:
Basics of Microscopy:
Here are some key points to consider when observing specimen using a light microscope: Focusing/Choosing Magnification
1) Always focus on lower power first, regardless of whether higher power magnification will be more suitable(to find the specimen in the first place before zooming in)
2) Use the large coarse knobs first to focus. Once you nearly have the image, make it sharp by using the smaller fine-focusing knobs
3) Place the most promising region of the slide exactly in the middle of the region of the stage through which light enters
4) Before increasing magnification, perform step one to ensure that the most promising region is exactly in the middle of the FOV(field of view). Then change to a higher magnification
Taking care of your microscope
Focus by moving the specimen and lens away from each other, never closer to towards other.
Ensure that the slide is clean and dry prior to using it.
Don’t touch the surface of the lens.
While carrying your microscope, ensure you carry it by the armpiece and base, not the body.